
Making a Wood Trout Glide Bait
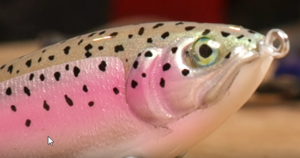 Making a wood trout glide bait is a great way to handcraft a lure that will catch a variety of gamefish. With a glide bait you can expect to catch Largemouth and Smallmouth Bass, Northern Pike and Musky. It can also be used for other large freshwater fish around the globe.
And making the lure yourself gives you the satisfaction of catching fish on something that you created, not just something bought from the shelves of a retail store or online shop. That alone makes it worth spending the time making a wood trout glide bait.
Lure maker Paul Adams is today’s instructor. Paul has been making homemade lures for many years and always presents a great tutorial.
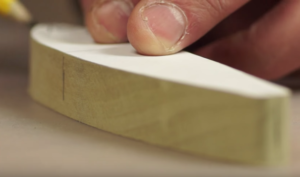 Paul starts out by showing us how he shapes his initial piece of wood. He draws out the desired shape on his wood material, using a paper template. Then he cuts it on a band saw. He then refines it a bit, using pencil marks and some sanding.
Paul then uses a craft knife to carve the square edges off the body. This gives it rounded edges, to more closely resemble the body of a trout.
You’ll notice that a bit of sanding to further shape and smooth the wood lure body helps bring it even closer to the finished shape. As Paul works with the sandpaper, it gives the lure a smooth surface texture that’s close to being ready for painting.
Once the desired shape is achieved, then it’s time to start working on other details, such as eye sockets, holes for screw eyes and larger holes for weights to be inserted into the belly of the lure.
Creating The Details
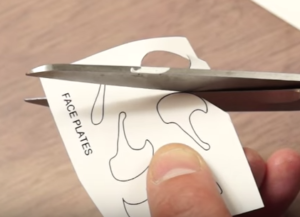 Paul goes into great detail about how he creates the facial details of the trout, using more paper stencils, double-sided tape and epoxy. The results of this are impressive, as they give the face area of the lure a 3-dimensional realism.
At first this might seem like overkill and unnecessary. But as Paul progresses, the finished result shows that the extra work is well worth the effort!
Next, it’s time for some textured foil to be applied to the sides of the lure. This adds a very light scale look and will create more realism under the paint that is yet to be sprayed on.
And then it’s time for paint and the first coat of epoxy to be applied. And after letting it dry until the epoxy is tacky, a final coat of epoxy is applied. The lure is then left to dry for approximately 24 hours.
Paul is careful to use small amounts of heat on the epoxy finish shortly after brushing it on, to prevent bubbles from forming as the lure dries.
 And, finally, it’s time to add the final hardware, such as screw eyes and hooks, and give the lure a test with some fish! And as you can see, Paul’s first fishing trip with his new lure was a success 🙂
Now, it’s time to go ahead and watch Paul walk through all of these steps in the video tutorial he created.
Enjoy the video!
Items used for this project:
If you enjoyed this post, please be sure to like it and share it with your friends.
And, as always, if you need any kind of lure-making supplies, be sure to visit our website, at http://lurepartsonline.com
 Building a rattle chamber in a wooden fishing lure is the best way to overcome the lack of sound in most wooden fishing lures.
 Zara Spooks and other walking topwater lures have been around for decades. They have have accounted for some giant bass over the years. There’s something about that cigar-shaped body zig-zagging back and forth across the surface of the water that big bass and other gamefish just can’t pass up.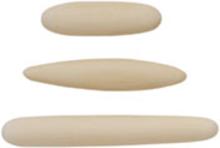
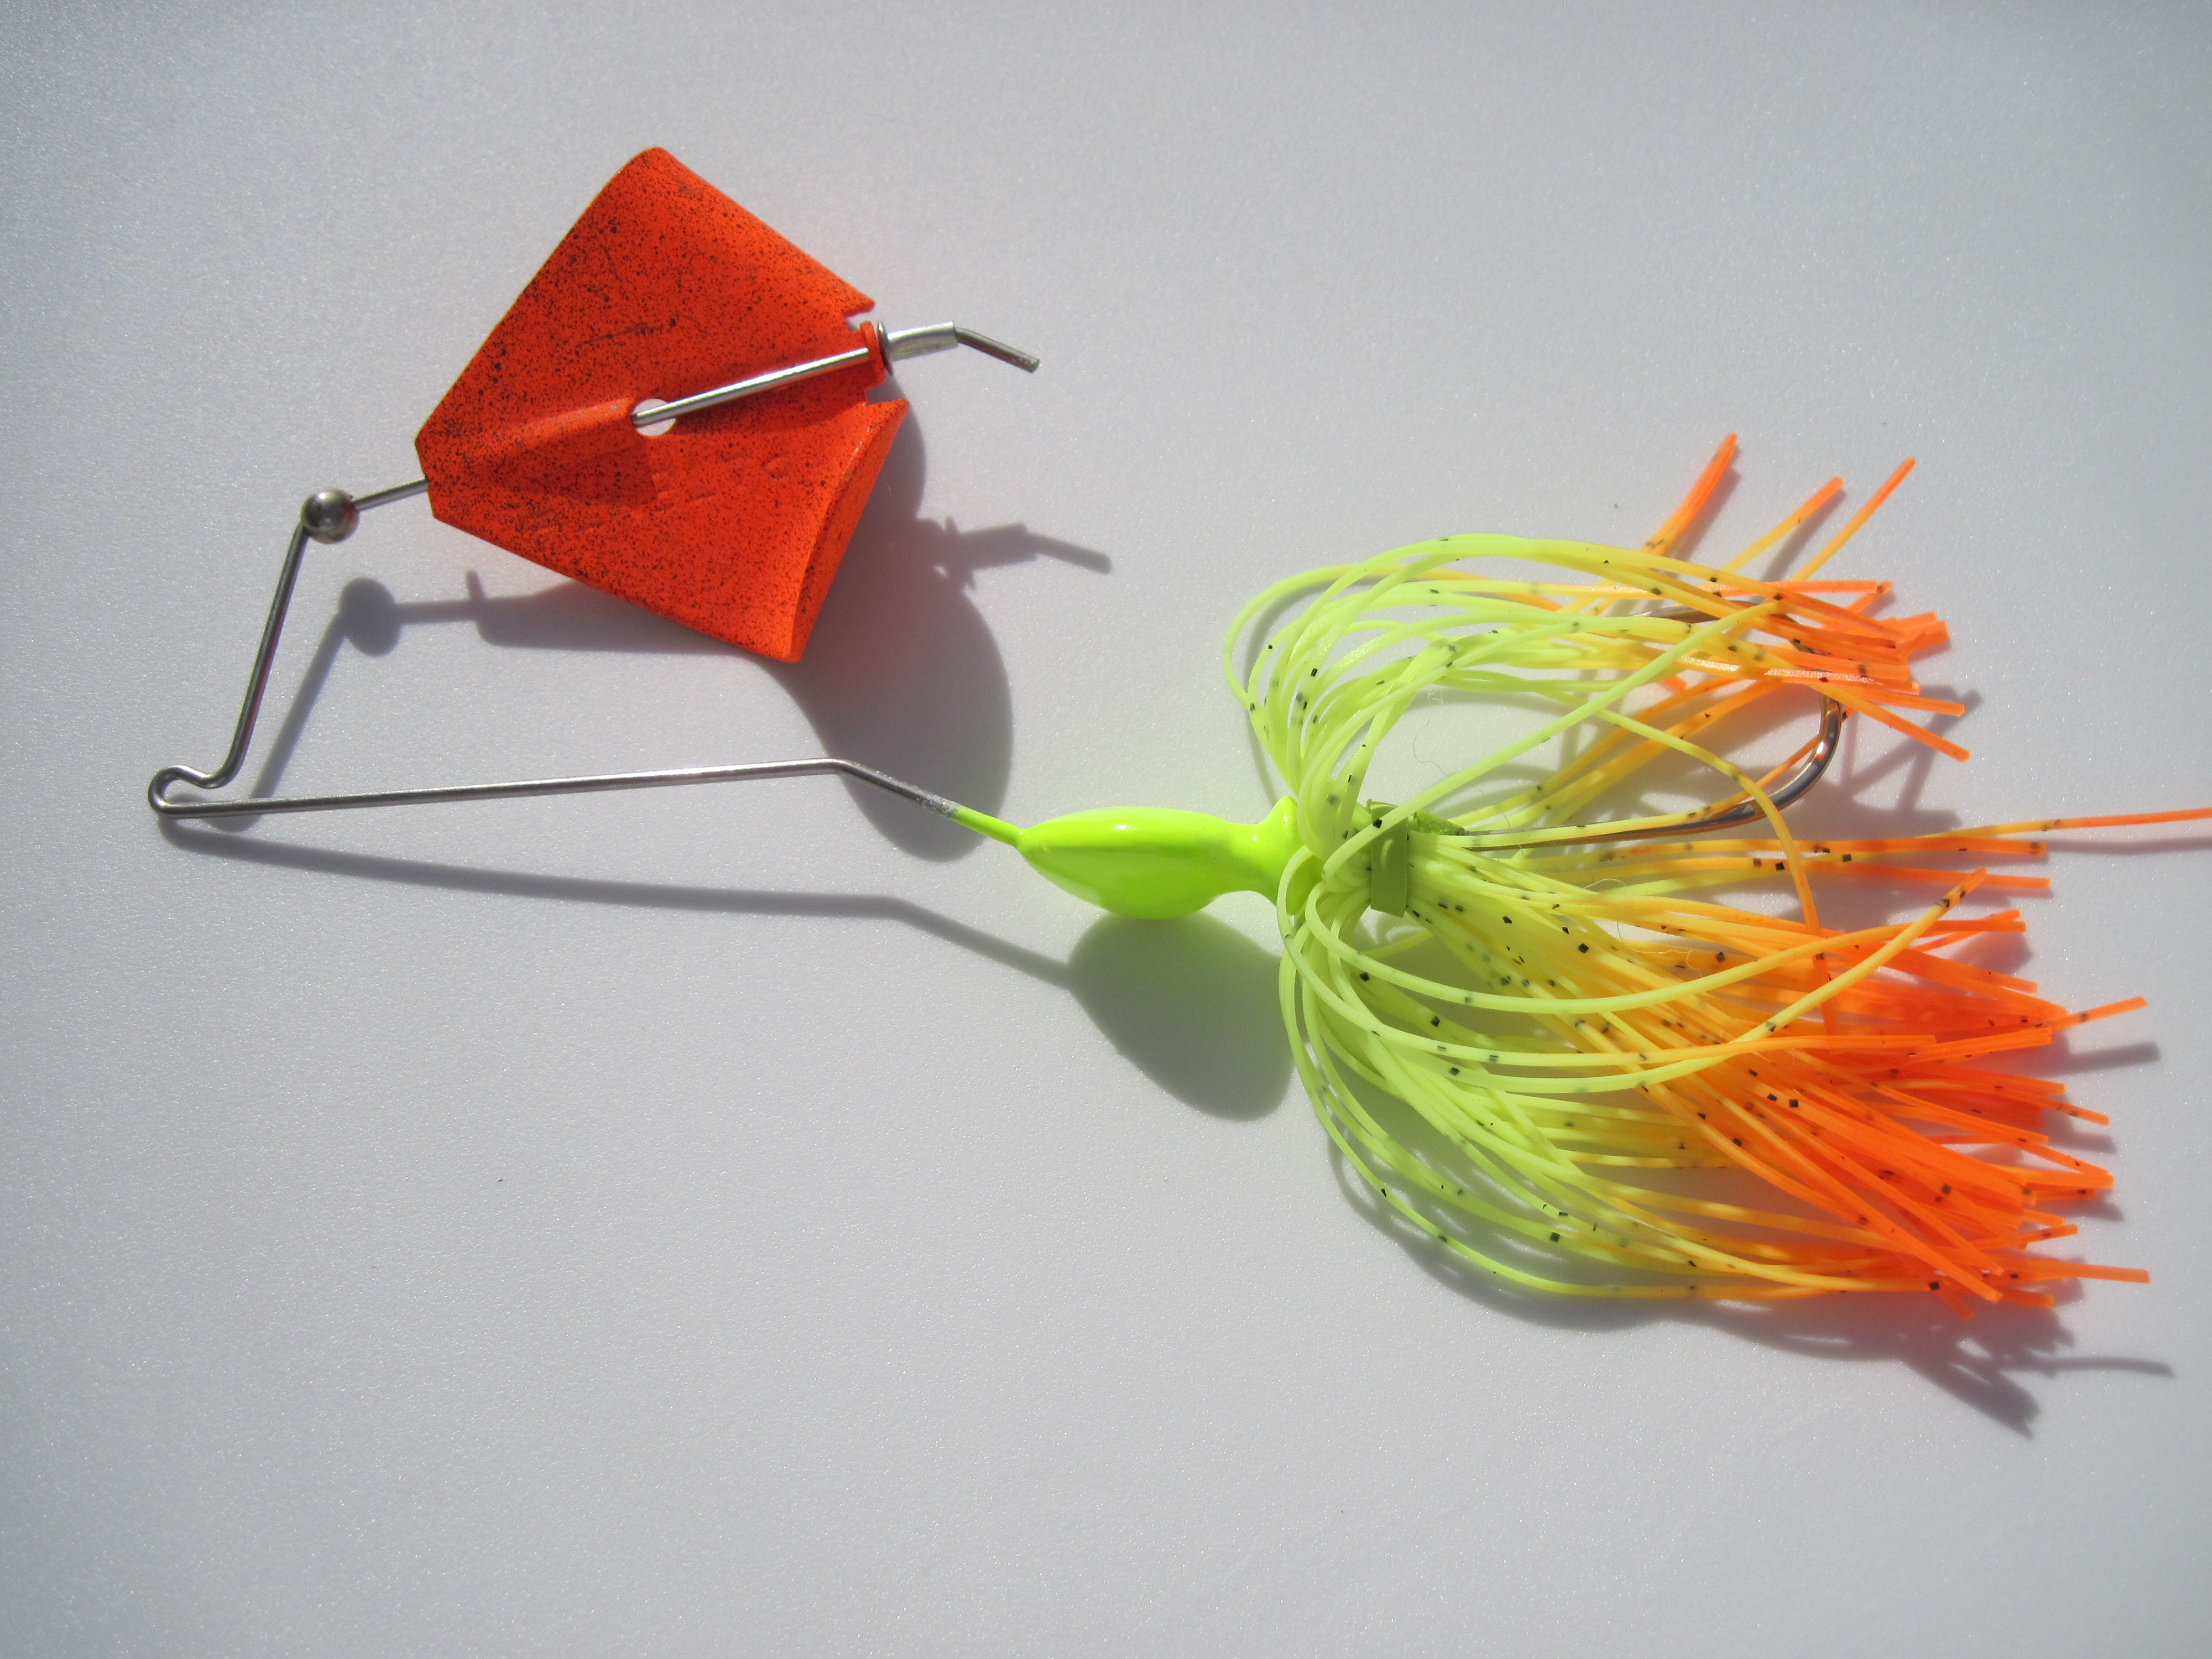
 Using pre-made silicone skirts is the absolute easiest way to put a skirt on a jig, spinnerbait or buzzbait. It doesn’t get any easier. But pre-made skirts have some disadvantages and limitations. The best thing you can do to make truly custom skirted lures, such as jigs, is to learn how to wire tie a jig skirt.
 As mentioned above, wire tied skirts give you unlimited options when it comes to color combinations. And creating a skirt using the wire tying method gives you very precise control of how the finished skirt looks. It allows you to place strands of various colors in very specific places in the skirt.
 It’s not uncommon for a skirt to fly apart on a cast or while fighting a fish because the rubber collar became old and tired. Rubber skirt collars can also fall apart while sitting in your tackle box. There’s nothing more frustrating than picking a brand new jig up out of your tackle box and finding the skirt falling apart because the collar dried out. And this can happen to a lure that’s never been fished!