
Make Bass Jigs That Catch More Fish
 Today’s blog post will share tips to help you make bass jigs that catch more fish.
It’s no secret that jigs are a proven big bass catcher. They just plain work!
But, as with any other lure, certain modifications or tweaks can make them work even better than they do right out of the package. So today we’ll show you some of those tips so you can make your own jigs work better, or modify jigs that you’ve made or bought in the past to catch more fish.
Keep in mind that conditions on any lake can change daily, or even from hour to hour, so what works today might not even get a bite tomorrow. But having a good selection of jigs in varying colors, sizes and styles can help you overcome those times when the bite slows down.
So what does it take to make bass jigs that catch more fish?
Really, it only takes a handful of your homemade bass jigs and a few very basic tools. First, you’ll need some freshly made bass jigs. If you haven’t started making your own jigs yet, then grab some new ones that you bought.
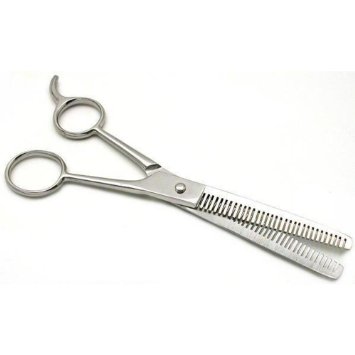 Next, you’ll need a good pair of scissors. They don’t have to be expensive. They just need to be nice and sharp! You’ll also need a pair of cheap thinning shears. These are like the ones that are used to thin a person’s hair at the barber shop or salon. These can be bought inexpensively at your local department store, usually in the health and beauty section.
Once you have those items, you’re ready to start tweaking your jigs!
Let’s make it clear that there are many ways you can modify your jigs. You don’t necessarily have to follow anyone’s recommendations. You can definitely think outside the box with this. The tips in the video below, though, are offered by someone who has proven them during their own fishing trips, over many years. They work for him. So it’s pretty likely they will work for you, too.
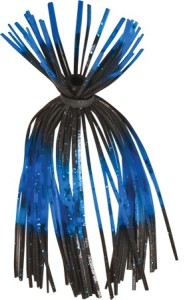 Another thing to keep in mind is that you can also purchase skirts that are semi-tailored or tweaked already. The finesse jig that was created in the video can also be made by using a skirt that’s already cut the very same way right from the factory.
Using these skirts will save you a ton of trial and error. It will also eliminate the possibility of you accidentally destroying any of your good jig skirts while you try to learn to trim them yourself.
On the other hand, though, if you learn to make your own skirt modifications, the sky is the limit when it comes to the number of different ways you can customize your jigs.
It’s entirely up to you! But no matter which you choose, you’ll be well on your way to catching more fish on your jigs. And there’s never anything wrong with that 🙂
Items used for this project:
Buzz Cut Skirts
Silicone Skirts
Finished Bass Jigs
Finished Finesse Jigs
If you enjoyed this post, please be sure to like it and share it with your friends.
And, as always, if you need any kind of lure-making supplies, be sure to visit our website, at http://lurepartsonline.com


 Want to learn how to make a topwater bass popper? We have a great tutorial video for you right here.
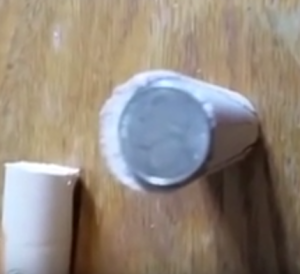 Stand the piece upright and place a nickel on the top end, offset so that the nickel touches one side of the circumference, but not the other.
 Now we’ll start the actual carving, using a utility knife, or something similar.
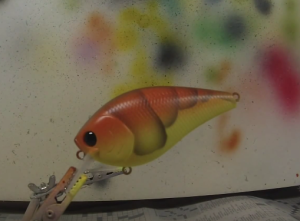 Today’s tutorial will be teaching you how to vacuum form stencils for painting crankbaits.
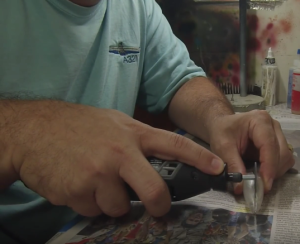 The first thing you’ll need to do is choose a crankbait style that you want to create a stencil for. Start off with a crankbait blank that’s unpainted. Know ahead of time that you’re basically sacrificing this body, since you’ll be cutting it in half!
 The stencil material is heated with a heat gun, to get it warm and flexible. As it becomes soft and flexible, it gets laid onto the surface of the vacuum board. This allows the vacuum to draw the material down tight to the surface of the board, and to the surfaces of the lure bodies.
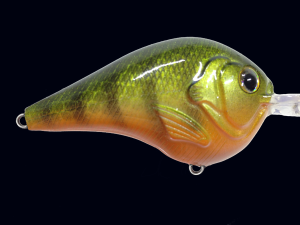 In our last blog post we showed you how to paint the Tiger Perch pattern. For this post, we’ll be showing you how to paint a natural perch pattern crankbait. Custom lure painter Michael Orensteen will be your instructor for today 🙂
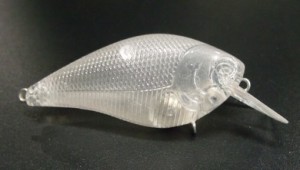 The first thing you’ll need to do is pick an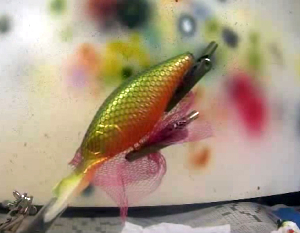
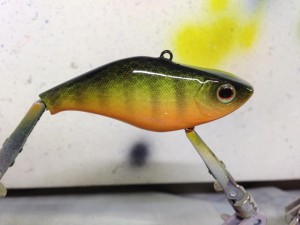 And the final painting step is to spray some white under the throat of the bait. This helps to give a little contrast with the other colors and make the lure look more natural, since most fish have white on their bellies.