Putting the Finishing Touches on Your Homemade Balsa Crankbait
Finishing your homemade balsa crankbait.
You’ve carved it, sanded it and shaped it. Now you need to seal it, foil it, install the diving lip and a slew of other things in order to take your bait from where it’s at, to a finished, working crankbait that you can catch fish on.
So where do you start? What do you do now to take this miniature work of art from something half finished, to a finished, fine-tuned crankbait that you can be proud to show people and actually catch fish on?
Read on and we’ll share tips with you on how to seal the wood body of the lure, foil it, give it a face, create and install the diving lip, painting it, clear coating it and then testing it in the lake or river near you.
As in the first post on this topic, we’re featuring another great video by lure maker Paul Adams. Paul goes into great depth to show us each and every step of the process, as well as providing us with a complete list of tools and materials needed to make it all happen.

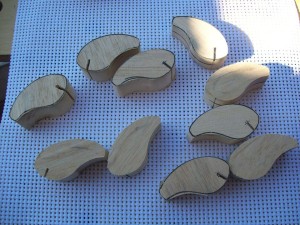
Wood Crankbait Bodies by Pablo Canterna
Pictured here is a batch of wooden crankbait bodies made by lure maker Pablo Canterna, of Argentina. Pablo also makes his wooden crankbaits by hand.
Further below in this post we’ll show you a great photo of these baits after they were finished!
But for now, let’s get back to the topic at hand… finishing your homemade balsa crankbait!
So here are a few of the items you’ll need in order to finish your bait:
- Envirotex – a two-part epoxy resin
- Self-adhesive aluminum foil
- Aluminum reinforcing mesh (this is normally used for car body repairs!)
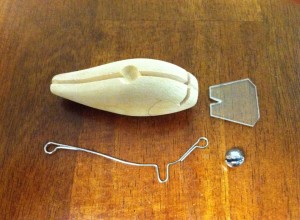
- a 2 mil polycarbonate sheet to make the diving lip
- And a few other tools that will be named specifically in the actual video

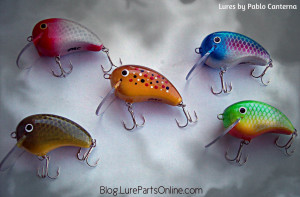
Finished Wood Crankbaits by Pablo Canterna
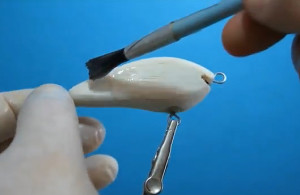
Paul will demonstrate in the video how to apply the clear coat (envirotex) and then add foil to the crankbait body to give it a natural “shimmer” or shine before painting the bait. He even gives away a secret tip for giving the foil a “scaly” look, using the mesh mentioned in the list above.
Oh, and here are some finished crankbaits made from the wood bodies pictured above, by Pablo Canterna. Quite a difference from the blank wooden bodies above, isn’t there?
So be sure to give the video a watch, take lots of notes, and get that new balsa crankbait finished up so you catch some nice fish on it 🙂
As always, thanks for stopping by. We hope you enjoyed the info and the video about finishing your homemade balsa crankbait. And be sure to stop back again soon for more great lure-making info.
You can visit Paul’s lure making blog directly by clicking here.
Here are links to some of the items used in making your own balsa crankbaits:
Balsa Crankbait Bodies In case you don’t want to carve your own
Stainless Steel Wire
Bobbin to hold your wrapping thread
Lure Painting Supplies
Molded 3D Lure Eyes
Nylon Wrapping Thread
Treble Hooks
Stainless Steel Split Rings


