Make a Homemade Walking Topwater Bait
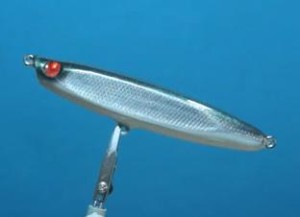
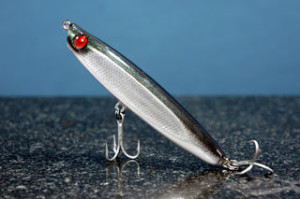
Learn how to make a homemade walking topwater bait, similar to the Zara Spook Puppy in the tutorial below.
 Zara Spooks and other walking topwater lures have been around for decades. They have have accounted for some giant bass over the years. There’s something about that cigar-shaped body zig-zagging back and forth across the surface of the water that big bass and other gamefish just can’t pass up.
So in light of their popularity, it’s not a bad idea to have a few of them in your tackle box so you can use them to catch some big fish too 🙂
Choosing to make a homemade walking topwater bait will give you lots of flexibility when it comes to sizes and colors of the baits you can use on different lakes. It will save you money when compared to buying factory-made baits. And due to its cigar shape, this is probably one of the easiest lures to make yourself.
For material, you will need some kind of wood piece. You can start with a wood block and carve the lure shape by hand. Or you can work it on a wood lathe, which is what is shown in the video below. You can even start with a good old fashioned wooden broomstick handle.
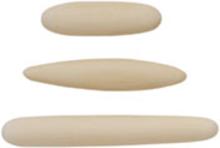
 If you want to avoid all of the carving or the lathe work, you can also use a pre-carved wood body. We’ve provided a link to them below the video. You can also click on the photo to the left. Using a wood lure blank that’s already been shaped for you eliminates most of the hard stuff. It allso allows you to just paint the lure and assemble it.
Either way, whether you choose to build the lure 100% from scratch or use some pre-carved parts, you will have the versatility of creating the lure exactly the way you want it to be. And catching fish on a homemade lure is always much more satisfying than catching them on a factory lure 🙂
One last advantage to making your own lures is that it gives you the opportunity to tinker and experiment with your lure design. This allows you to test new ideas and maybe come up with something that can’t be bought in store.
So get ready to take a few notes and learn from the video.
Enjoy your new homemade topwater lure!
One side note about this project. The lure maker in the video used screw eyes that were considerably bigger than those used by the factory. Please be advised that using screw eyes that are too big will seriously alter the action of the lure.
We recommend using screw eyes that are as close as possible to the size used by the factory on the original lure 😉
Items used for this project:
If you enjoyed this post, please be sure to like it and share it with your friends.
And, as always, if you need any kind of lure-making supplies, be sure to visit our website, at http://lurepartsonline.com


