Learn How to Make Trolling Spinners for Salmon and Steelhead!

How to make trolling spinners for salmon and steelhead
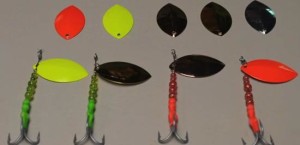
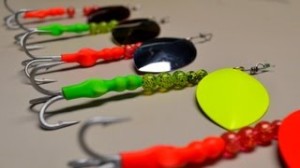
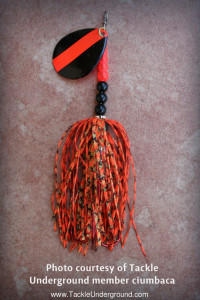
In our latest post we’ll be showing you how to make your own trolling spinners for Salmon and Steelhead, for about $2 each.
It’s a pretty-well-known fact that making your own lures, no matter what type or style, is a great way to save money, as well as allowing you to customize your lures to be exactly what you want them to be, instead of having to settle for factory-made fare. The combination of components and color choices is endless, allowing you to tweak your bait in just about every aspect.
Inline spinners are no exception. Whether you make them to cast for trout in streams, rivers and lakes, or to troll in big waters for salmon and steelhead, the same holds true. Buying the components individually and assembling them yourself is not only fun, but you also get the satisfaction of knowing you’re catching fish on lures you made with your own hands 🙂
As with our previous post, we will be making on inline spinner. But this one will be a bit different than the last one in the fact that this spinner will be used for trolling, instead of casting.

How to make trolling spinners for salmon and steelhead
This type of spinner will look somewhat similar in its design, but will require some different components to make it more rugged, for the bigger fish it will be catching. Also, because it’s trolled and not being cast, it will be assembled a bit differently.
Big Salmon and Steelhead can be brutes and you want to make sure you build spinners that will be up to the task, not bending or breaking while under the pressure of a massive fish, as it surges or jumps.
As with the last post, we will be including a tutorial video at the end, to show you the exact steps needed to build these spinners with the least amount of difficulty. Tyler walks you through a few new tips that make it easier than if you were trying to figure it out yourself.
Oh, and in addition to a list of the necessary parts, we will also be giving you a list of the tools needed to make these lures. This way you’re equipped with everything you need before you sit down and start putting them together.
Tyler does a great job of letting you know which colors work best for him, but keep in mind that you can adjust the colors for your own lures and test some new color schemes, based on your own personal preferences or the water conditions where you live 🙂
Here are the individual part numbers and links to each part, for your convenience:
- Looped Wire Shaft (0.035″ diameter, 6 in. length) – Item #4421
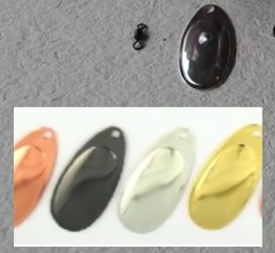
- Wide Willowleaf Blade – Size 6 – Item #1181
- Easy Spin Clevis – Size 4 – Item #2411
- Hollow Metal Bead – Size 00 – Item #4521
- Natural Look Beads – 6 mm size & 8 mm size – Item #2208
- Sparkle Beads – 6 mm size & 8 mm size – Item #2209
- Stainless Steel Split Ring – Size 6 – Item #4101
- Colored 1/8″ Latex Rubber Tubing – Item #5502
- VMC 8527 Gladiator 6X Treble Hook – Size 2/0 (PermaSteel finish) – Item #4908
Tools needed:
Needle Nose Pliers – narrow nose is preferred
Split Ring Pliers – Item #4151
Scissors (for cutting the surgical tubing)
Small bowl of water
Liquid Dish Soap (to be used as a lubricant for sliding the tubing over some of the other lure components)
If you’d like to visit Tyler’s YouTube channel, you can do so here: Frugal Fisherman


